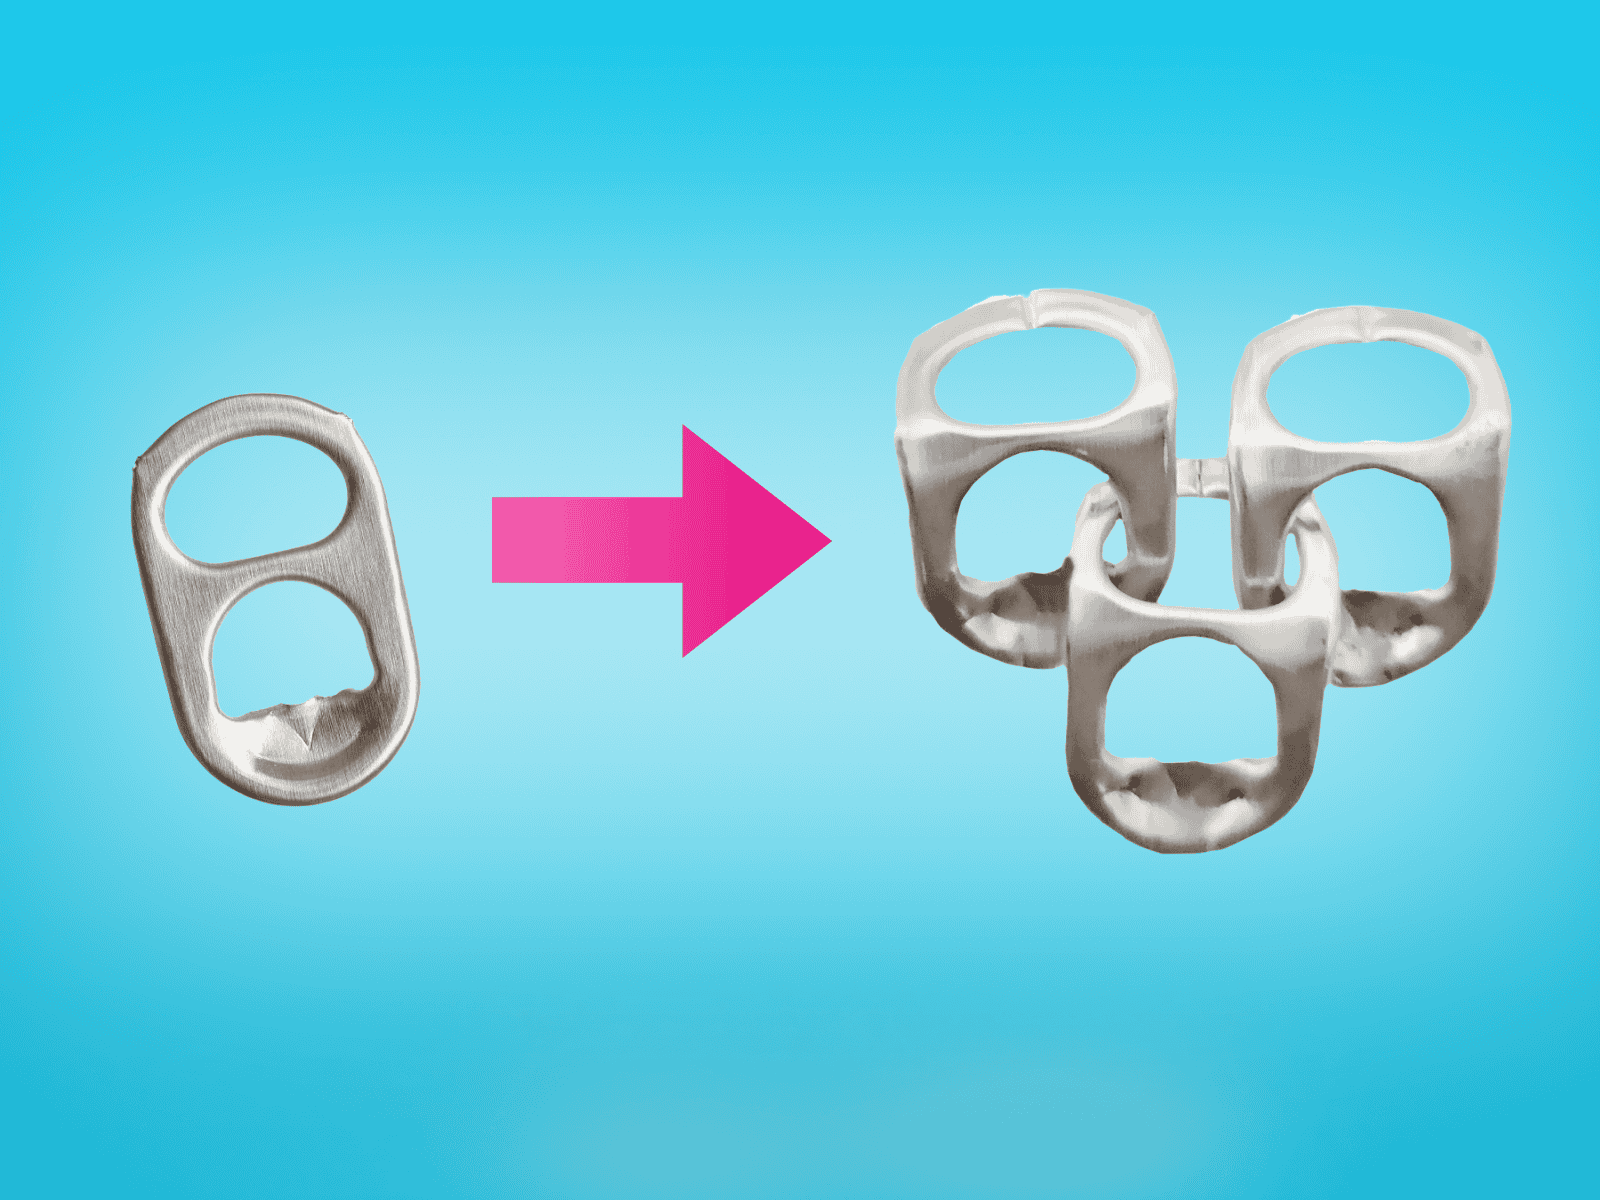
In this DIY upcycling tutorial, you’ll learn about connecting beverage can opener tabs to create unique designs like chain mail fabric, lamps, jewelry, and more.
Tutorial: Connecting Can Tabs Upcycling DIY
Upcycling DIY Tutorial: Connect aluminum can opener pull tabs to create amazing things.

In This Article:
Instructions on how to connect pull tabs in 7 simple steps for your next connecting beverage can opener tabs DIY upcycling project
In only seven easy steps to great upcycling design
Steps for Connecting Beverage Can Opener Tabs
1. Get Small, Stable Pliers
2. Collect Pull Tabs
3. Wash and Boil the Tabs
4. Sort by Type and State
5. Bend the Tabs
6. Cut a Slit
7. Connect the Pull Tabs
No glue is needed—just pull tabs and a pair of pliers.
In this upcycling DIY tutorial about handmade things out of can flaps, also called soda can pull tab openers, you will learn in a few simple steps how to make the pull tabs into a kind of chain mail shirt fabric. This fabric, made from aluminum can flaps, can then be processed in different ways. You can create designer lamps, tablecloths, jewelry, and whatever else you can think of. There are no limits to creativity.
Step 1:
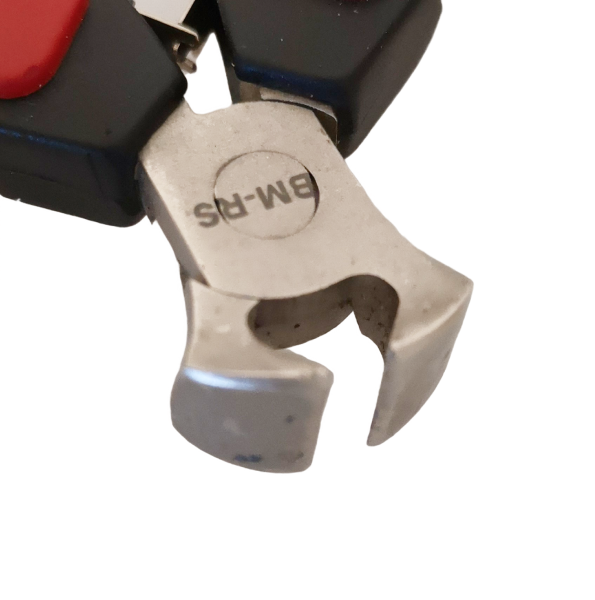
Get Small, Stable Pliers
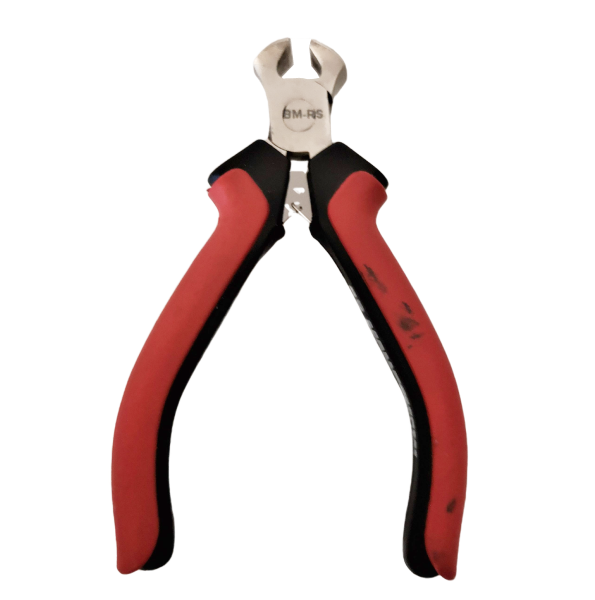
The pliers should be stable enough to pinch or cut a slit in the pull tabs. However, the finer the cut, the better the tabs hold together afterward. A small pair of pliers is advisable.
Step 2:
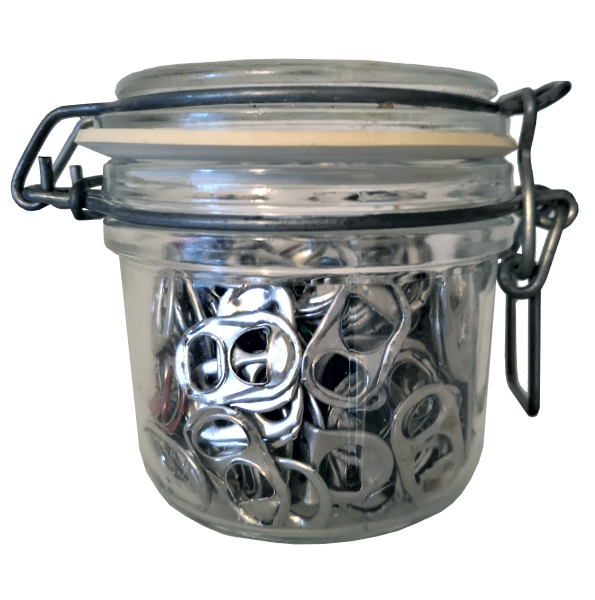
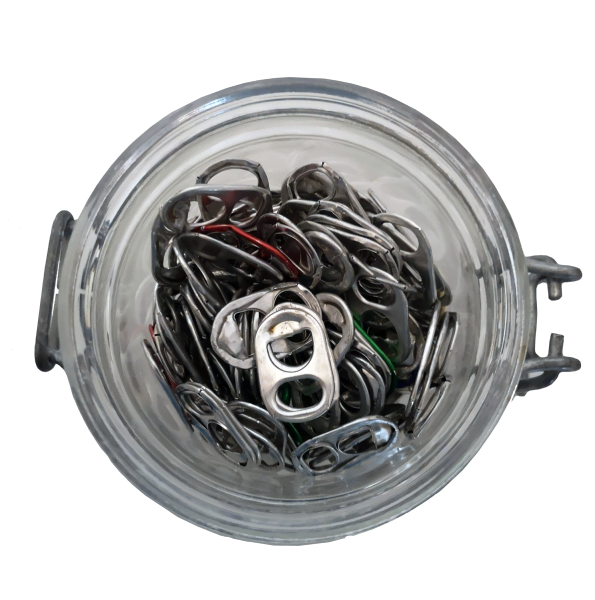
Collect Pull Tabs
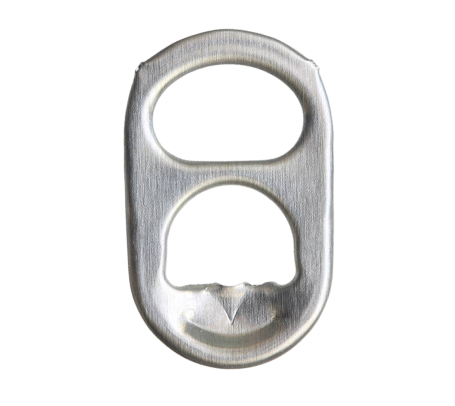
Of course, you need a lot of aluminum pull tabs. From 150 pieces, you can create a surface for smaller things. You can also find the tabs in larger quantities online.
Step 3: Wash and Boil
Since the tabs are often sticky or dirty, boil them in water for a few minutes, then dry them on a towel.

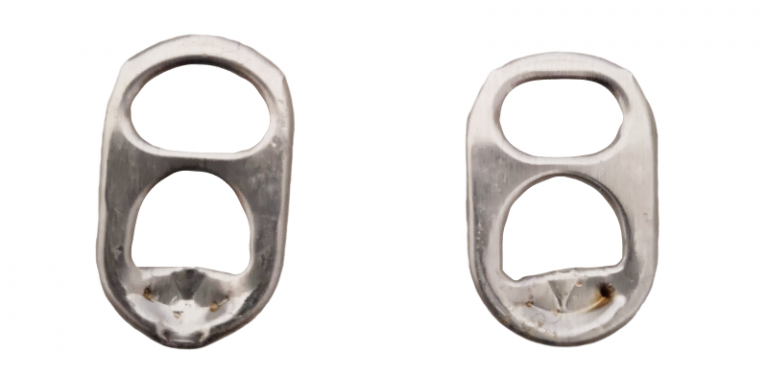
Step 4: Sort by Type
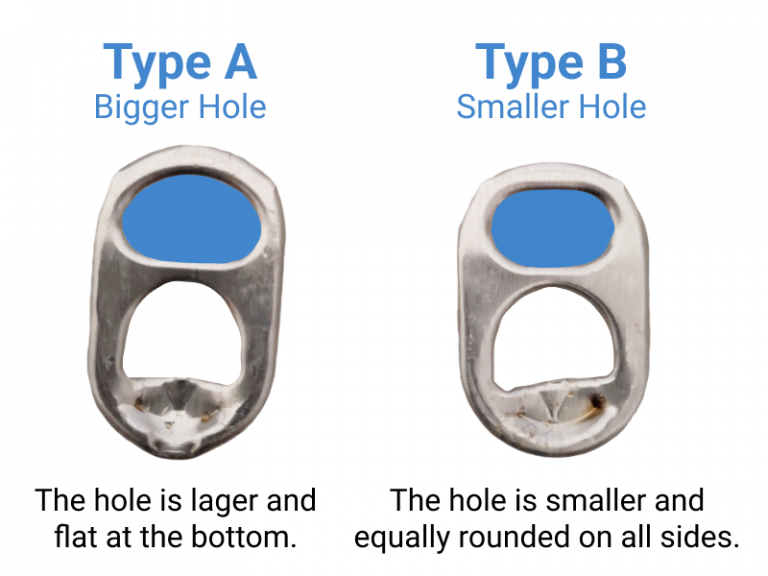
There are two main types of pull tabs, differing slightly in hole size and shape. Sorting them ensures uniformity in your final design.
Step 5: Bending the Tabs
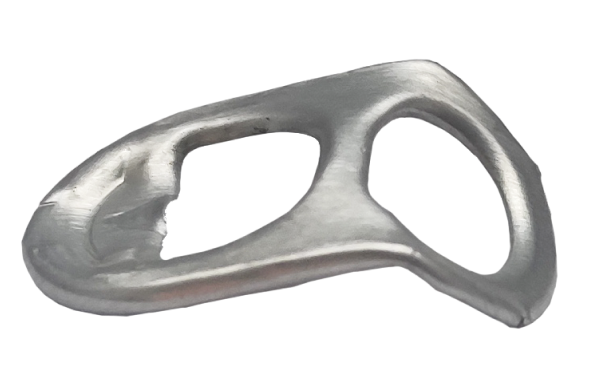
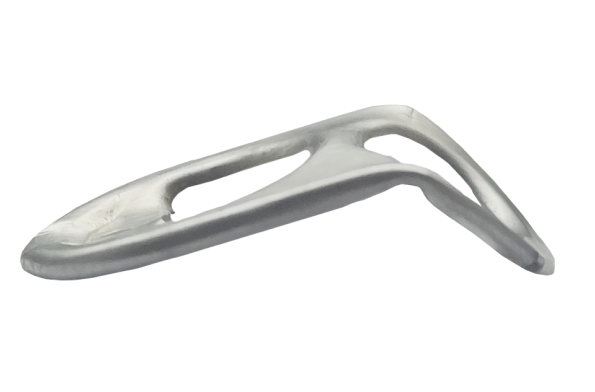
Bend the upper part of the tab downwards at roughly a 70° angle. Consistency in bending is crucial for the final result.
Step 6: Cut a Slit
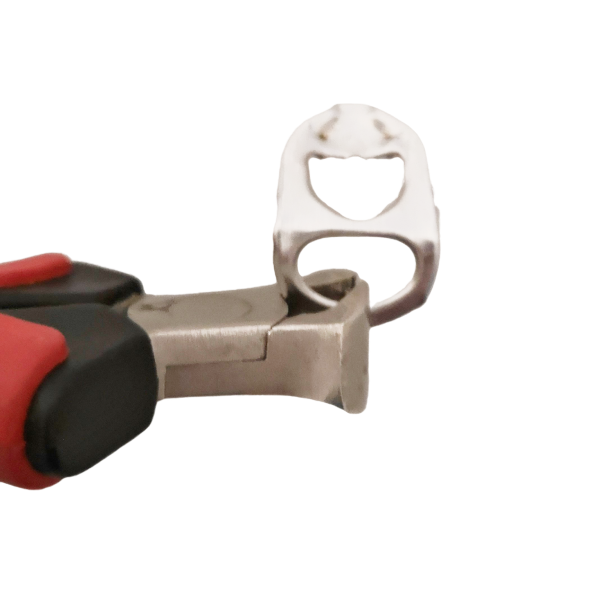
Make a thin cut at the top outer end of each tab using pliers. The cut should be narrow enough to close again later.
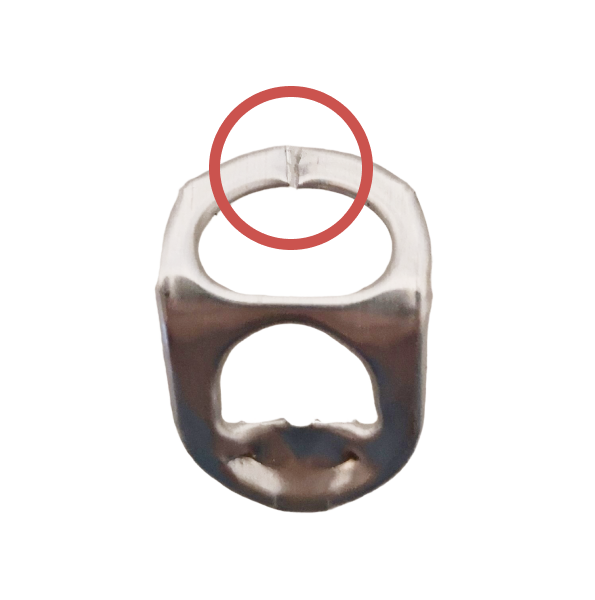
Step 7: Connect the Pull Tabs
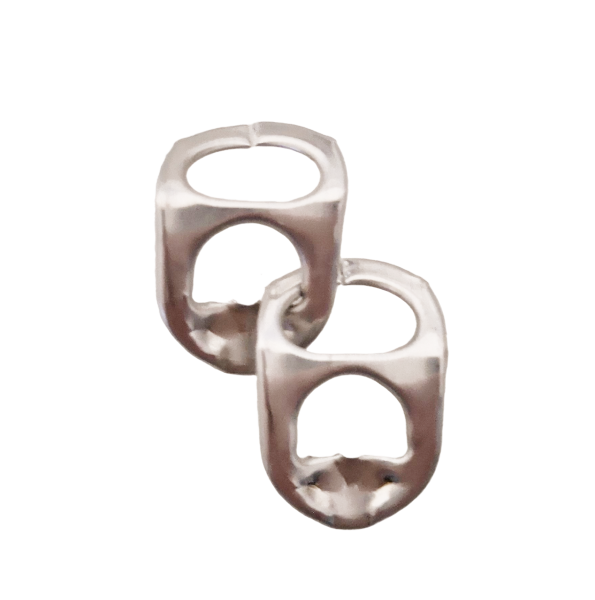
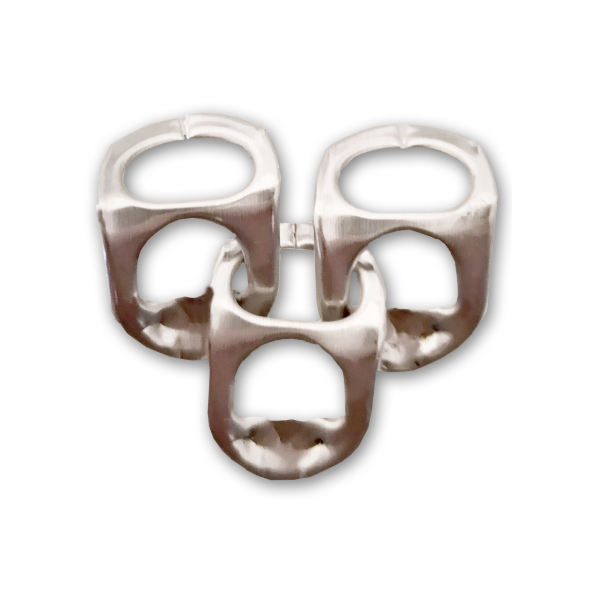
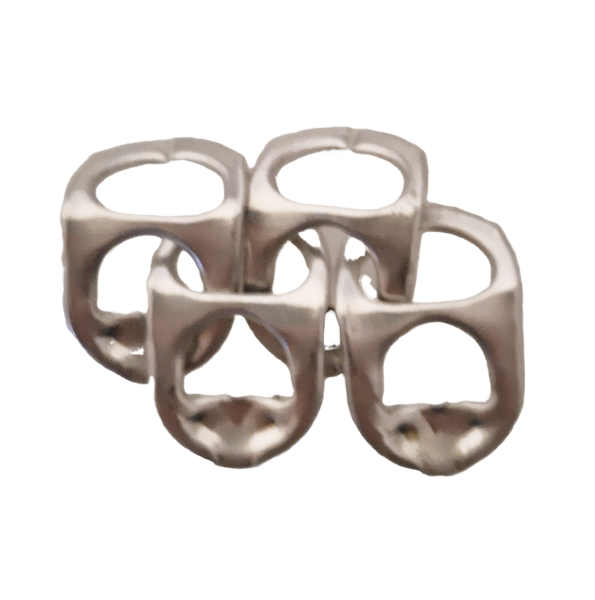
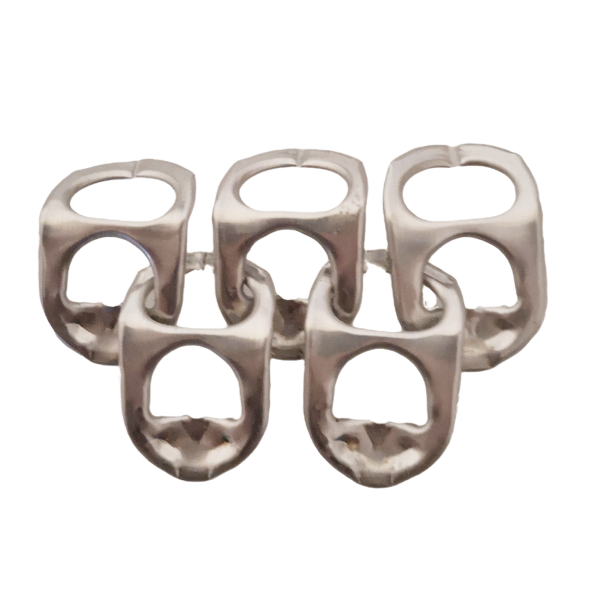
Insert two tabs into the slit of a third tab, then close the slit to secure them. Repeat this process to build your design.
Get Creative!
Once you’ve mastered the basic technique, the possibilities are endless. From designer lamps to jewelry, you can craft a wide array of upcycled products. Be inspired by our designs and find out in this article how many pull tabs you need for which project. We have collected many more ideas for upcycling pull tabs on this Pinterest board.
In this DIY upcycling tutorial, you’ll learn about connecting beverage can opener tabs to create unique designs like chain mail fabric, lamps, jewelry, and more.
Tutorial:
Connecting Can Tabs Upcycling DIY
Upcycling DIY Tutorial: Connect aluminum can opener pull tabs to create amazing things.

In This Article:
Instructions on how to connect pull tabs in 7 simple steps for your next connecting beverage can opener tabs DIY upcycling project
In only seven easy steps to great upcycling design
Steps for Connecting Beverage Can Opener Tabs

1. Get Small, Stable Pliers
2. Collect Pull Tabs
3. Wash and Boil the Tabs
4. Sort by Type and State
5. Bend the Tabs
6. Cut a Slit
7. Connect the Pull Tabs
No glue is needed—just pull tabs and a pair of pliers.
In this upcycling DIY tutorial about handmade things out of can flaps, also called soda can pull tab openers, you will learn in a few simple steps how to make the pull tabs into a kind of chain mail shirt fabric. This fabric, made from aluminum can flaps, can then be processed in different ways. You can create designer lamps, tablecloths, jewelry, and whatever else you can think of. There are no limits to creativity.
Step 1:
Get Small, Stable Pliers
The pliers should be stable enough to pinch or cut a slit in the pull tabs. However, the finer the cut, the better the tabs hold together afterward. A small pair of pliers is advisable.


Step 2:
Collect Pull Tabs
Of course, you need a lot of aluminum pull tabs. From 150 pieces, you can create a surface for smaller things. You can also find the tabs in larger quantities online.


Step 3: Wash and Boil
Since the tabs are often sticky or dirty, boil them in water for a few minutes, then dry them on a towel.

Step 4: Sort by Type
There are two main types of pull tabs, differing slightly in hole size and shape. Sorting them ensures uniformity in your final design.


Step 5: Bending the Tabs
Bend the upper part of the tab downwards at roughly a 70° angle. Consistency in bending is crucial for the final result.


Step 6: Cut a Slit
Make a thin cut at the top outer end of each tab using pliers. The cut should be narrow enough to close again later.


Step 7: Connect the Pull Tabs
Insert two tabs into the slit of a third tab, then close the slit to secure them. Repeat this process to build your design.


Get Creative!
Once you’ve mastered the basic technique, the possibilities are endless. From designer lamps to jewelry, you can craft a wide array of upcycled products. Be inspired by our designs and find out in this article how many pull tabs you need for which project. We have collected many more ideas for upcycling pull tabs on this Pinterest board.
In this DIY upcycling tutorial, you’ll learn about connecting beverage can opener tabs to create unique designs like chain mail fabric, lamps, jewelry, and more.
Tutorial: Connecting Can Tabs Upcycling DIY
Upcycling DIY Tutorial: Connect aluminum can opener pull tabs to create amazing things.

In This Article:
Instructions on how to connect pull tabs in 7 simple steps for your next connecting beverage can opener tabs DIY upcycling project
In only seven easy steps to great upcycling design
Steps for Connecting Beverage Can Opener Tabs
1. Get Small, Stable Pliers
2. Collect Pull Tabs
3. Wash and Boil the Tabs
4. Sort by Type and State
5. Bend the Tabs
6. Cut a Slit
7. Connect the Pull Tabs

No glue is needed—just pull tabs and a pair of pliers.
In this upcycling DIY tutorial about handmade things out of can flaps, also called soda can pull tab openers, you will learn in a few simple steps how to make the pull tabs into a kind of chain mail shirt fabric. This fabric, made from aluminum can flaps, can then be processed in different ways. You can create designer lamps, tablecloths, jewelry, and whatever else you can think of. There are no limits to creativity.
Step 1:
Get Small, Stable Pliers

The pliers should be stable enough to pinch or cut a slit in the pull tabs. However, the finer the cut, the better the tabs hold together afterward. A small pair of pliers is advisable.

Step 2:
Collect Pull Tabs

Of course, you need a lot of aluminum pull tabs. From 150 pieces, you can create a surface for smaller things. You can also find the tabs in larger quantities online.

Step 3:
Wash and Boil

Since the tabs are often sticky or dirty, boil them in water for a few minutes, then dry them on a towel.
Step 4:
Sort by Type
There are two main types of pull tabs, differing slightly in hole size and shape. Sorting them ensures uniformity in your final design.


Step 5:
Bending the Tabs
Bend the upper part of the tab downwards at roughly a 70° angle. Consistency in bending is crucial for the final result.


Step 6: Cut a Slit
Make a thin cut at the top outer end of each tab using pliers. The cut should be narrow enough to close again later.


Step 7:
Connect the Pull Tabs
Insert two tabs into the slit of a third tab, then close the slit to secure them. Repeat this process to build your design.


Get Creative!
Once you’ve mastered the basic technique, the possibilities are endless. From designer lamps to jewelry, you can craft a wide array of upcycled products. Be inspired by our designs and find out in this article how many pull tabs you need for which project. We have collected many more ideas for upcycling pull tabs on this Pinterest board.
