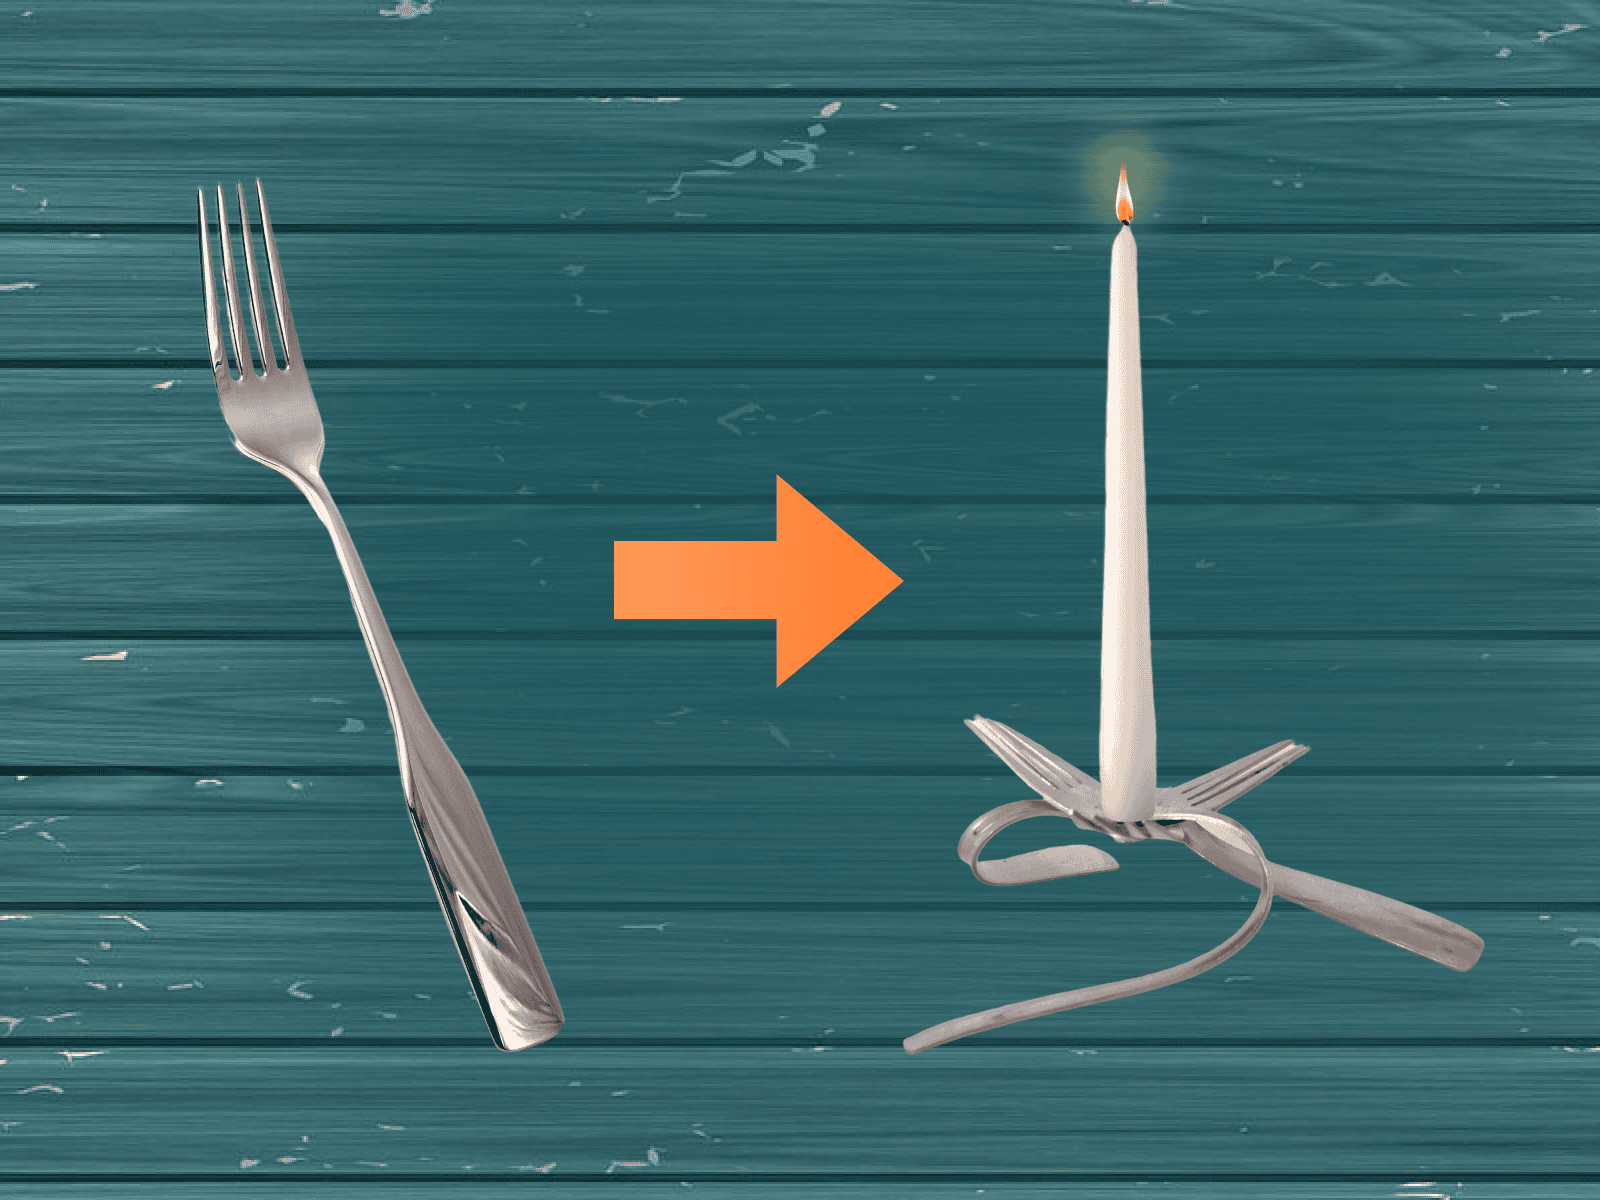
Creating a candle holder using old forks is a fun
Here’s a tutorial to help you make your own unique candle holder:
In this article:
- Step by step guide to making a candle holder with old forks
- Super easy, super fast and an absolute eye-catcher. Upcycling done in just a few minutes
- Great gift idea, easy to make yourself.
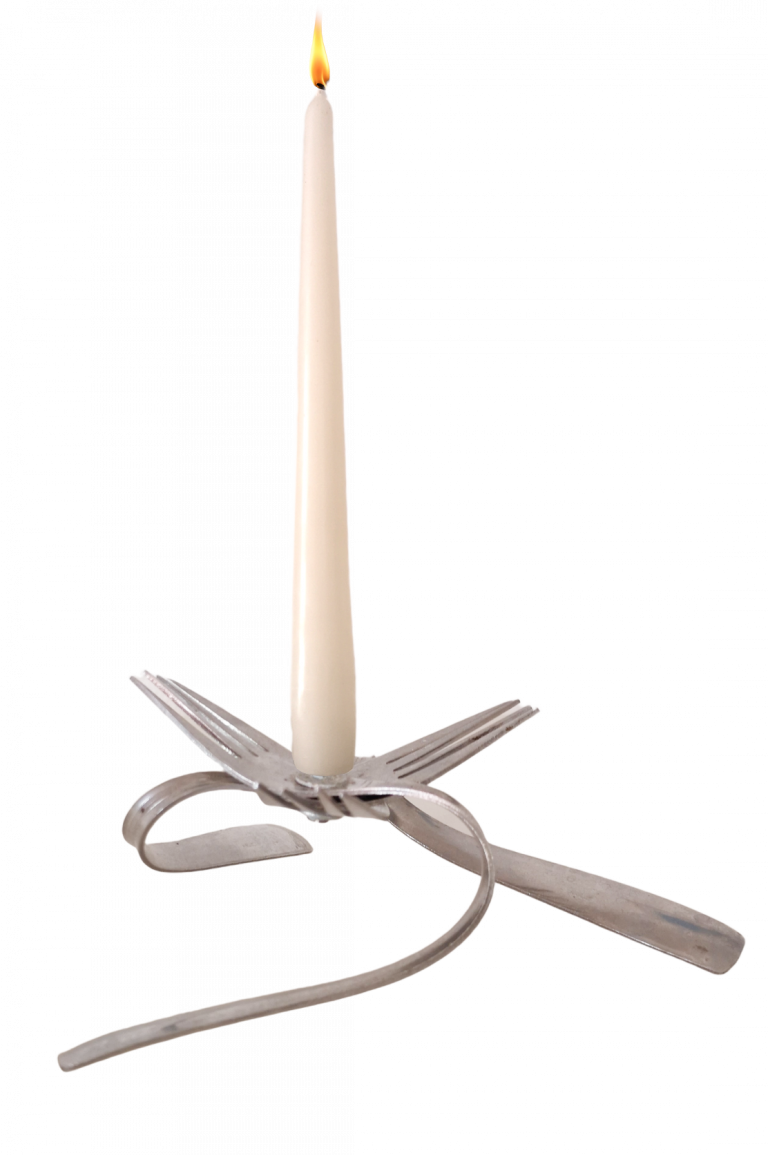
Only three steps in 3 Minutes
Step by step guide to making a candle holder with old forks or spoons with this easy DIY project. Follow these three simple steps to transform your cutlery into a beautiful upcycled candle holder.
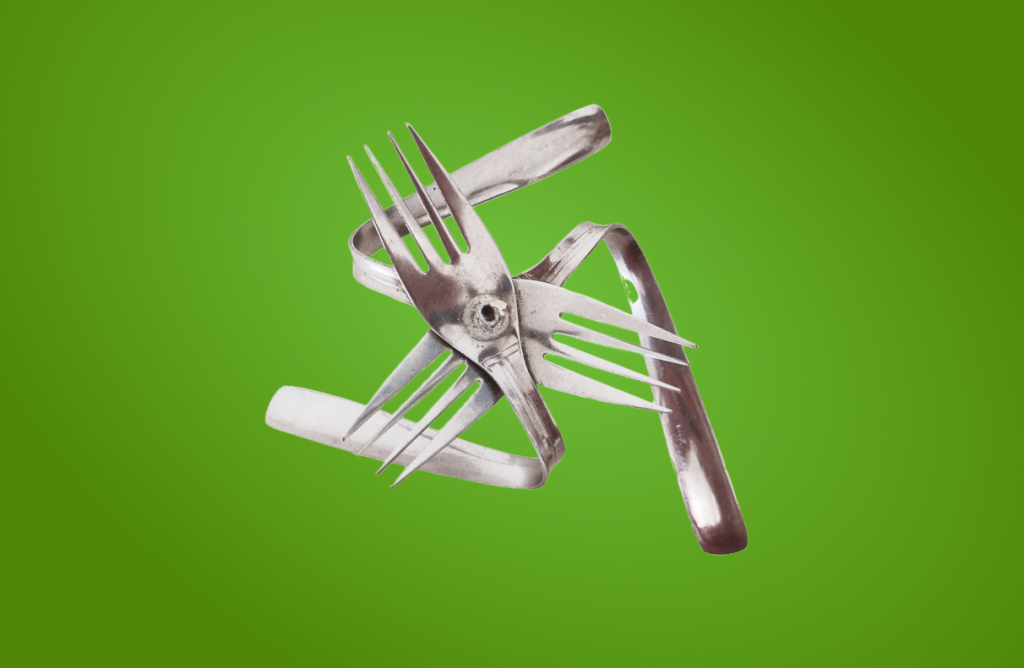
Materials needed:
- 3 old forks or spoons
- A screw clamp
- A drill with a metal bit
- Pliers or a bench vise
- A screw, washer, and nut
- (appropriate size for your holes and base)
- Candle
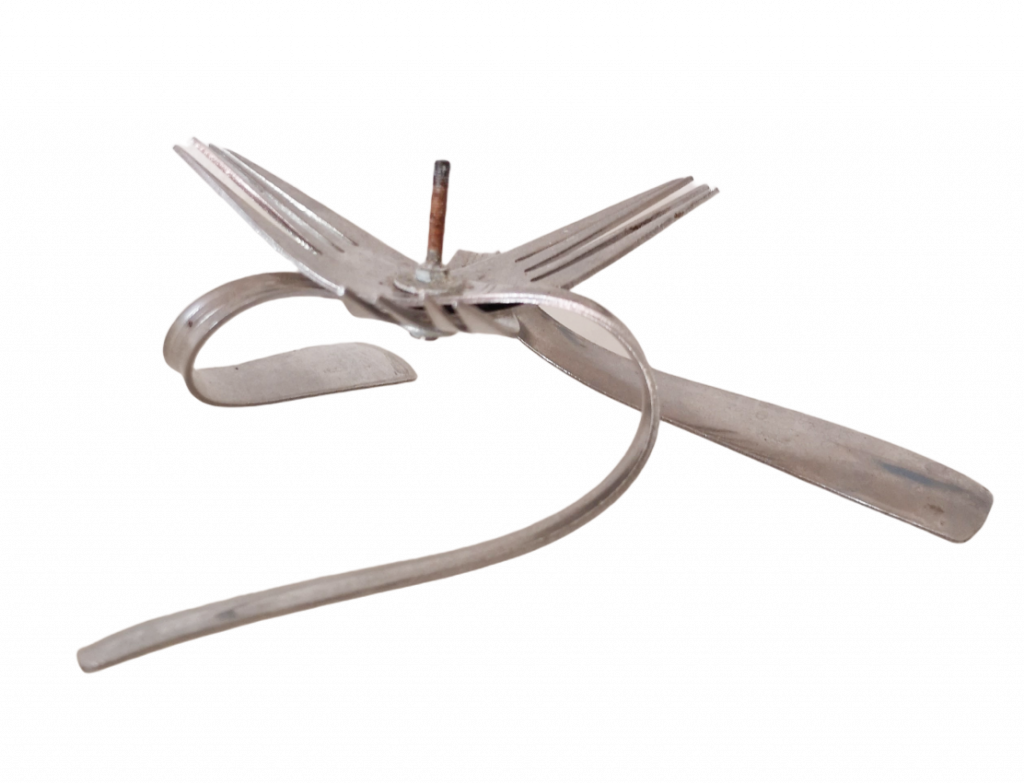
Instructions:
Step 1:
Drill Holes in the Cutlery
Clamp the Cutlery:
Secure the first piece of cutlery (fork or spoon) in a screw clamp to keep it steady.
Drill the Hole:
Drill a hole through the handle at the desired spot. Ensure you use a drill bit suitable for metal.
Repeat this process for all three pieces of cutlery, ensuring the holes are in the same position on each one for alignment.
Step 2:
Bend the Handles
Shape the Handles:
Use pliers to bend the handles of the cutlery into the desired shape. If the cutlery is flexible enough, you may be able to bend it by hand.
Ensure all three handles are bent in the same way to maintain balance and symmetry.
Step 3:
Assemble the Candle Holder
Align the Holes:
Place the cutlery pieces together, aligning the holes you drilled.
Insert the Screw:
Insert the screw through the holes from the bottom side.
Place a washer over the screw on the underside to distribute the pressure evenly.
Secure with a Nut:
Thread a nut onto the screw from the top and tighten it to secure the cutlery pieces together.
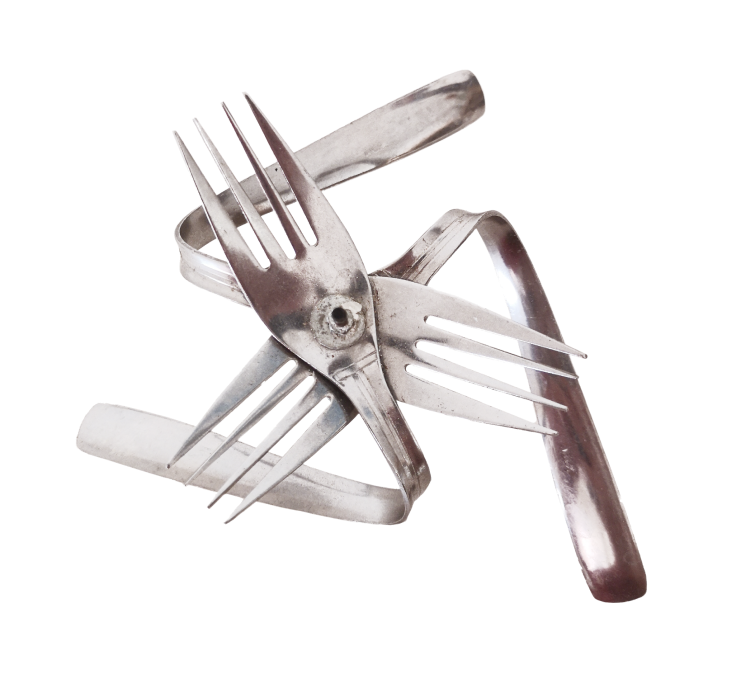
Now add the candle and you're done
Secure the Candle:
Stick the candle onto the top of the screw. If necessary, trim the bottom of the candle to fit the screw snugly.
Tips:
Secure the Candle:
Stick the candle onto the top of the screw. If necessary, trim the bottom of the candle to fit the screw snugly.
Drill the exact position of the holes:
Ensure the holes are drilled at the same position on each piece for balance.
Use thin screw:
Use a thinner screw for easier candle attachment.
Make sure the candle holder is stable before use to prevent tipping.
Enjoy your handmade, upcycled candle holder! This project not only recycles old cutlery but also adds a personal and artistic touch to your home decor.
If you are looking for a step-by-step tutorial, which is super simple but very impressive, then take a look at how to click Can opener pulltabs into each other and build great unique things from them
Creating a candle holder using old forks is a fun
Here’s a step-by-step tutorial to help you make your own unique candle holder:
In this article:
- Step by step guide to making a candle holder with old forks
- Super easy, super fast and an absolute eye-catcher. Upcycling done in just a few minutes
- Great gift idea, easy to make yourself.

Only three steps
in 3 Minutes
Step by step guide to making a candle holder with old forks or spoons with this easy DIY project. Follow these three simple steps to transform your cutlery into a beautiful upcycled candle holder.

Materials needed:
- 3 old forks or spoons
- A screw clamp
- A drill with a metal bit
- Pliers or a bench vise
- A screw, washer, and nut
- (appropriate size for your holes and base)
- Candle
Instructions:

Step 1:
Drill Holes in the Cutlery
Clamp the Cutlery:
Secure the first piece of cutlery (fork or spoon) in a screw clamp to keep it steady.
Drill the Hole:
Drill a hole through the handle at the desired spot. Ensure you use a drill bit suitable for metal.
Repeat this process for all three pieces of cutlery, ensuring the holes are in the same position on each one for alignment.
Step 2:
Bend the Handles
Shape the Handles:
Use pliers to bend the handles of the cutlery into the desired shape. If the cutlery is flexible enough, you may be able to bend it by hand.
Ensure all three handles are bent in the same way to maintain balance and symmetry.
Step 3:
Assemble the Candle Holder
Align the Holes:
Place the cutlery pieces together, aligning the holes you drilled.
Insert the Screw:
Insert the screw through the holes from the bottom side.
Place a washer over the screw on the underside to distribute the pressure evenly.
Secure with a Nut:
Thread a nut onto the screw from the top and tighten it to secure the cutlery pieces together.
Now add the candle and you're done

Tips:
Secure the Candle:
Stick the candle onto the top of the screw. If necessary, trim the bottom of the candle to fit the screw snugly.
Drill the exact position of the holes:
Ensure the holes are drilled at the same position on each piece for balance.
Use thin screw:
Use a thinner screw for easier candle attachment.
Make sure the candle holder is stable before use to prevent tipping.
Enjoy your handmade, upcycled candle holder! This project not only recycles old cutlery but also adds a personal and artistic touch to your home decor.
If you are looking for a step-by-step tutorial, which is super simple but very impressive, then take a look at how to click Can opener pulltabs into each other and build great unique things from them
Creating a candle holder using old forks is a fun
Here’s a step-by-step tutorial to help you make your own unique candle holder:
In this article:
- Step by step guide to making a candle holder with old forks
- Super easy, super fast and an absolute eye-catcher. Upcycling done in just a few minutes
- Great gift idea, easy to make yourself.

Only three steps in 3 Minutes
Step by step guide to making a candle holder with old forks or spoons with this easy DIY project. Follow these three simple steps to transform your cutlery into a beautiful upcycled candle holder.

Materials needed:
- 3 old forks or spoons
- A screw clamp
- A drill with a metal bit
- Pliers or a bench vise
- A screw, washer, and nut
- (appropriate size for your holes and base)
- Candle
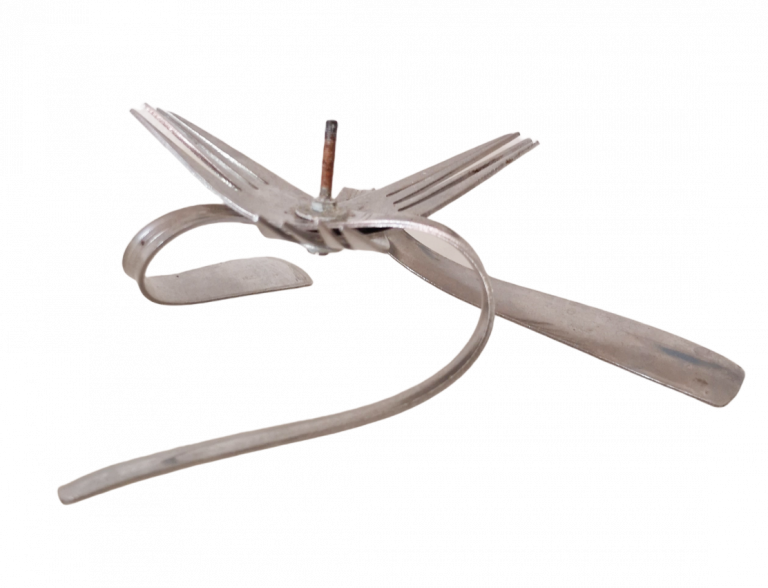
Instructions:
Step 1:
Drill Holes in the Cutlery
Clamp the Cutlery:
Secure the first piece of cutlery (fork or spoon) in a screw clamp to keep it steady.
Drill the Hole:
Drill a hole through the handle at the desired spot. Ensure you use a drill bit suitable for metal.
Repeat this process for all three pieces of cutlery, ensuring the holes are in the same position on each one for alignment.
Step 2:
Bend the Handles
Shape the Handles:
Use pliers to bend the handles of the cutlery into the desired shape. If the cutlery is flexible enough, you may be able to bend it by hand.
Ensure all three handles are bent in the same way to maintain balance and symmetry.
Step 3:
Assemble the Candle Holder
Align the Holes:
Place the cutlery pieces together, aligning the holes you drilled.
Insert the Screw:
Insert the screw through the holes from the bottom side.
Place a washer over the screw on the underside to distribute the pressure evenly.
Secure with a Nut:
Thread a nut onto the screw from the top and tighten it to secure the cutlery pieces together.

Now add the candle and you're done
Tips:
Secure the Candle:
Stick the candle onto the top of the screw. If necessary, trim the bottom of the candle to fit the screw snugly.
Drill the exact position of the holes:
Ensure the holes are drilled at the same position on each piece for balance.
Use thin screw:
Use a thinner screw for easier candle attachment.
Make sure the candle holder is stable before use to prevent tipping.
Enjoy your handmade, upcycled candle holder! This project not only recycles old cutlery but also adds a personal and artistic touch to your home decor.
If you are looking for a step-by-step tutorial, which is super simple but very impressive, then take a look at how to click Can opener pulltabs into each other and build great unique things from them
